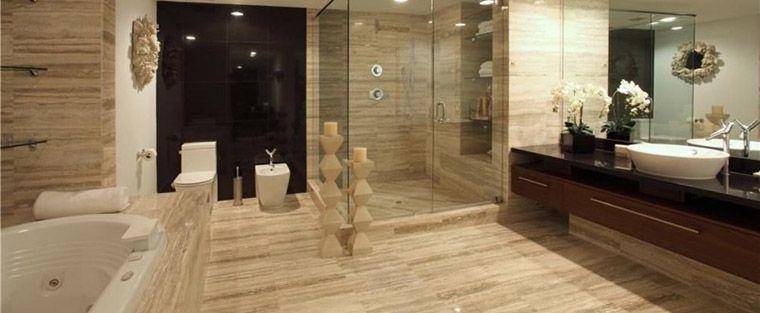

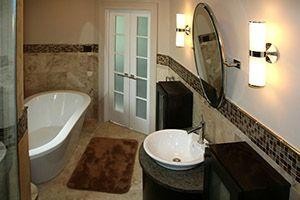
Your bathroom is a moisture-ridden place, which makes your floors, walls and counters susceptible to mold and mildew. This is especially true if you have products that are made with materials that are easily damaged by water.
The issue is, even when you have a durable tile making up your shower walls, moisture can still find its way inside. It can seep through your tiles, leading to deterioration, mold and even leaks in your subfloor or ceiling.
Fixing your water-damaged shower walls isn’t as difficult as it may seem. In the following guide, we’ll show you exactly how you can perform bathroom remodeling without causing more damage.
Let’s look.
Identifying the Wall Damage
It’s common for leaks to start in the lower portion of your shower wall. This is where the tile meets with the top of the floor or shower pan.
This is a great place to begin looking for water damage, such as discolored grout, peeling caulk, loose tiles and moldy grout. When you see these signs, then you know there’s a moisture issue that’s affecting the back of the shower wall.
Getting Rid of the Tiles
The good news is that once you pinpoint the areas with the water damage, you can remove the tiles by hand. Any tile that’s stuck, you can remove using a chisel or putty knife. You can use the same for any stuck-on tiling as well.
Whatever you do, try your best not to break the tiles, especially if you’re only replacing a small area of the tile. It can be hard to get exact-match replacement tiles, which will leave a noticeably different design.
If this happens, then you’ll have to invest in replacing the entire wall to get the tile matching 100%. When you’re replacing the tile, place the ones with drywall residue inside of bucket filled with warm water. This will help to remove any excess material.
Time to Cut Out the Drywall
If you’re not sure whether an area of drywall is water-damaged, all you must do is touch it. It will crumble or break by hand. You’ll need to remove the affected drywall area by cutting a line below your remaining tile.
This should give you enough space to install new drywall. Make sure to check out your wall studs to ensure they’re still maintaining their integrity. It’s not uncommon for these too to become waterlogged, requiring replacement.
However, if you see that the studs are in good condition, then all you must do is take out the old screw or nails before you begin installing the new drywall.
Take a good look at the insulation around the shower. When your insulation becomes rotted, it minimizes the efficiency of your home and can also lead to mildew and growth.
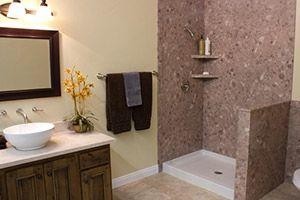
Next, Install the Cement Board
Now, it’s time for trimming the cement boards so that they fit the replacement area. Just screw them onto the studs. You should use latex caulk for the sealing of the board’s bottom edges. Then spread around tile adhesive at the seam right between the current drywall and new cement board.
Then just place fiberglass tape onto the adhesive and allow it to dry up.
If you’re trying to retile the entire shower, it’s a good idea to implement a waterproofing barrier that will act as a membrane for your cement board.
Begin Adding the Tile

You’ll have to spread tile adhesive along the membrane or cement boards before adding the tile. It’s best to implement plastic spacers into the mix to prevent an uneven tile arrangement.
After installing all the tile, it’s time to add the grout. It’s a good idea to wipe off your grout within 60 minutes of applying it. Just don’t wipe off the grout right away. Wait for at least several minutes before you get rid of the excess.
If you see any areas require touching up, then do so. This includes grouted areas that are smeared or thin.
Estimating the Size of Your Project
It’s not always simple trying to determine how much water damage you have. Therefore, it’s hard to say how much tile you’ll need. It all really comes to how much water damage your tile and drywall have.
Some signs are more obvious than others, which is why you should contact an inspector to analyze the bathroom shower wall for you. If you fail to get rid of all the water-damaged areas, then it will only make matters worse with mold and mildew.
When this happens, you’ll have to demolish even more areas. So even if you find a small area of water damage, make plans for a bigger project, just in case.
Finding the Missing Pieces for the Job
Now that you know how to replace the tile in a bathroom with water-damaged tile walls, it’s time to get to work. The steps above are very easy, of course, but if you struggle, you can always go with a professional.
The tile you end up using for the bathroom remodeling should derive from a quality source. All the tile you find at Cabinet Land comes from leading manufacturers in the industry.
Some of the brands we carry tile from include Daltile, MSI, Atlas Marble & Tile, Marazzi Tile Flooring, and Tile Optima, to name a few.
All our products come backed with brand warranties to ensure your ultimate satisfaction. When you need quality, Cabinet Land is a place to go. You can stop by our local showroom to see the various tile options we have available.
You’ll find we have many different colors, textures and styles to select from. Contact us today to get started with the design of your new bathroom shower walls!