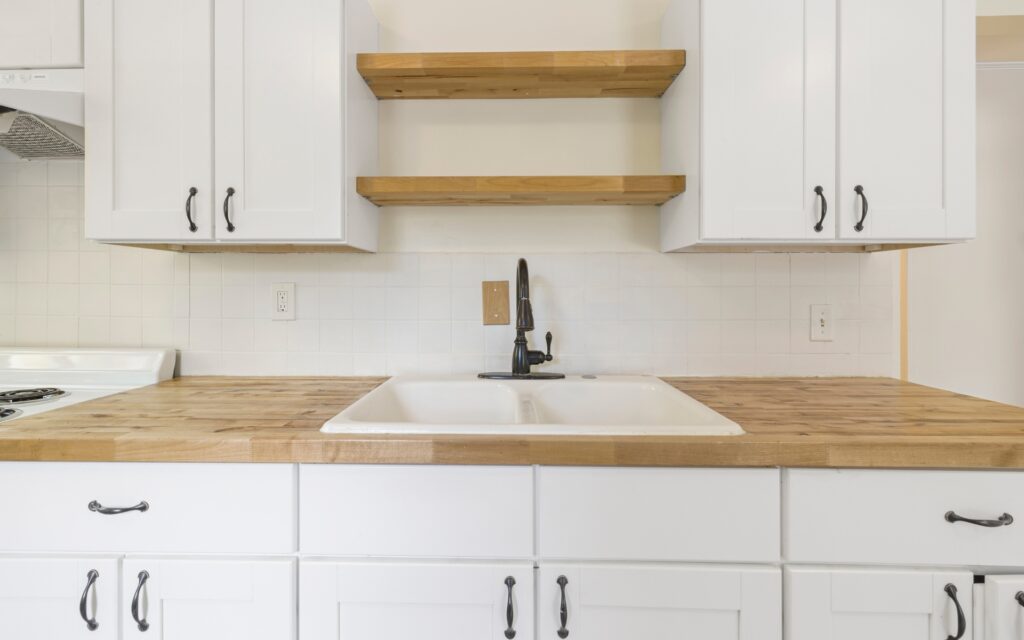


We’re tackling one of the most overlooked areas in kitchen design. That’s the awkward gap between your cabinets and the ceiling. It collects dust, looks unfinished, and makes you wonder what the original builders were thinking. The top of kitchen cabinets doesn’t have to be a design afterthought or a dust bunny sanctuary.
If you’re thinking about kitchen remodeling, this is the perfect time to consider how you might use that space. Simple changes, like adding baskets or decorative items, can make a big difference. Or, if you’re making bigger updates, you could even design new storage solutions that fit right above your cabinets. In this blog today, we’ll explore creative solutions that transform this often-ignored zone into something useful and attractive.
Why the Top of Kitchen Cabinets Space Exists
So why does this dead space exist in the first place? It often comes down to standard cabinet heights meeting varied ceiling heights. Stock wall cabinets typically come in 30, 36, or 42-inch heights, while ceiling heights vary from 8 to 10 feet or more. This mismatch creates that frustrating gap.
Here’s another factor to consider. Builders sometimes leave this space intentionally for cost savings. Installing cabinets all the way to the ceiling requires more materials, custom sizing, and additional labor. That empty space might save money upfront, but it leaves homeowners dealing with the visual and practical challenges.
The good news? You have plenty of options to address this wasted space, whether you’re planning a full renovation or looking for simple weekend projects.
Measuring Your Space: Getting the Dimensions Right
Before diving into solutions, let’s get specific about measurements. Grab a tape measure and check the exact distance from your cabinet tops to the ceiling. Most gaps range from 6 to 24 inches, though some homes have even larger spaces.
Also, measure the depth of your cabinet tops. Standard upper cabinets are usually 12 inches deep, giving you a decent platform for storage or display. However, some cabinets are shallower or deeper, which affects what you can safely place on top.
Don’t forget to check for level surfaces. Older homes, especially, might have uneven ceilings or cabinet installations. A small level will reveal any slopes that could affect your plans.
Storage Solutions for the Top of Kitchen Cabinets
Now let’s talk about turning that awkward space into practical storage. This area works perfectly for items you don’t need daily but want to keep accessible. Think holiday dishes, specialty appliances, or entertaining pieces.
For organization, consider using matching baskets or decorative boxes. These contain smaller items while looking intentional and tidy. Label them discreetly on the back or side, so you know what’s inside without climbing up to check.
According to HGTV’s storage experts, using clear containers lets you see contents at a glance while keeping dust at bay. They recommend leaving a 2-inch clearance from the ceiling for easy removal.
Want to store rarely-used items efficiently? Try these approaches:
- Vintage suitcases for seasonal items
- Woven baskets for linens and tablecloths
- Covered bins for small appliances
- Metal tins for cookie cutters and specialty tools
Decorative Display Ideas That Actually Work
If storage isn’t your priority, why not display decorative items that add personality to your kitchen? This approach turns a problem area into a design feature that draws the eye upward and makes your space feel larger.
Here’s where you can get creative. Large pottery, vintage plates on stands, or great collection pieces all work beautifully. The key is choosing items with enough visual weight to be seen from below. Tiny knick-knacks will just disappear from view.
Consider these display strategies:
- Group items in odd numbers for visual appeal
- Vary heights to create interesting silhouettes
- Stick to a cohesive color palette
- Mix textures for added depth
Lighting makes a huge difference, too. Installing LED strip lights behind a small valance illuminates your display and creates ambient evening lighting.
Living It Up with Greenery
Want to bring life to your kitchen? You can put green plants on top of your cabinets for a fresh, organic look. This solution works especially well in kitchens with good natural light from windows or skylights.
Choose plants that thrive in your kitchen’s conditions. Pothos and philodendrons trail beautifully over cabinet edges. Snake plants and ZZ plants handle low light if your kitchen is darker. Just remember, you’ll need a step stool for watering, so pick low-maintenance varieties.
For the black-thumb crowd, quality artificial plants have come a long way. Today’s silk plants look remarkably realistic and never need water. Mix them with real preserved eucalyptus or dried flowers for an authentic feel.
Closing the Gap Permanently
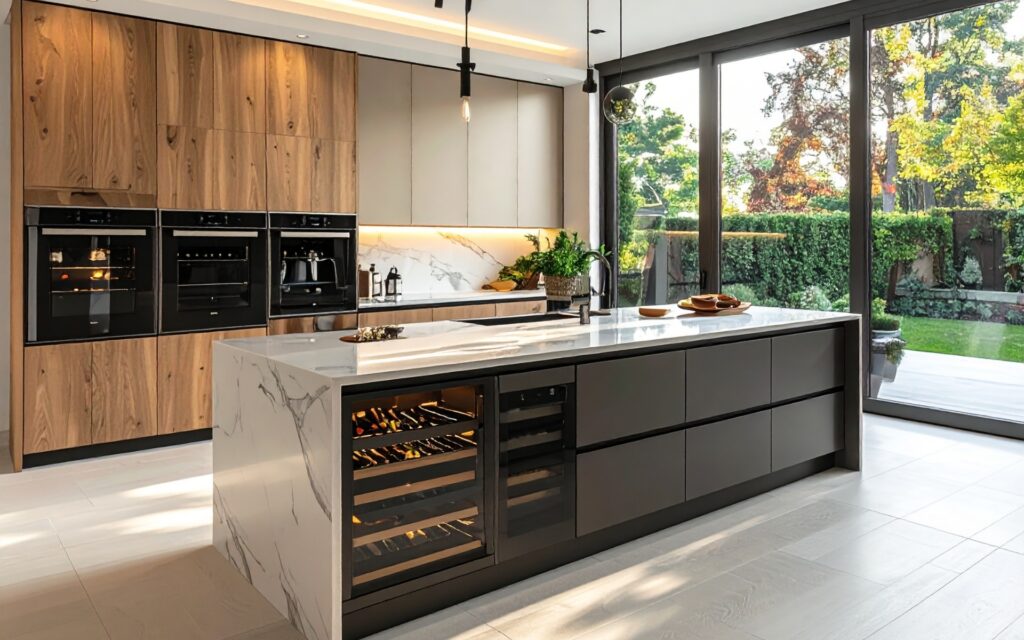
Sometimes the best solution is eliminating the gap entirely. If you’re planning a complete kitchen remodeling, consider these permanent fixes that create a seamless, built-in look.
One popular approach involves extending your existing cabinets. A skilled carpenter can add crown molding and filler pieces that reach the ceiling. This creates a custom, high-end appearance while maximizing storage.
Another option? You can close up the gap with some screen bead or MDF to create a soffit or bulkhead. This boxy structure bridges the space between cabinets and the ceiling. While it doesn’t add storage, it eliminates the dust-catching ledge and creates clean lines.
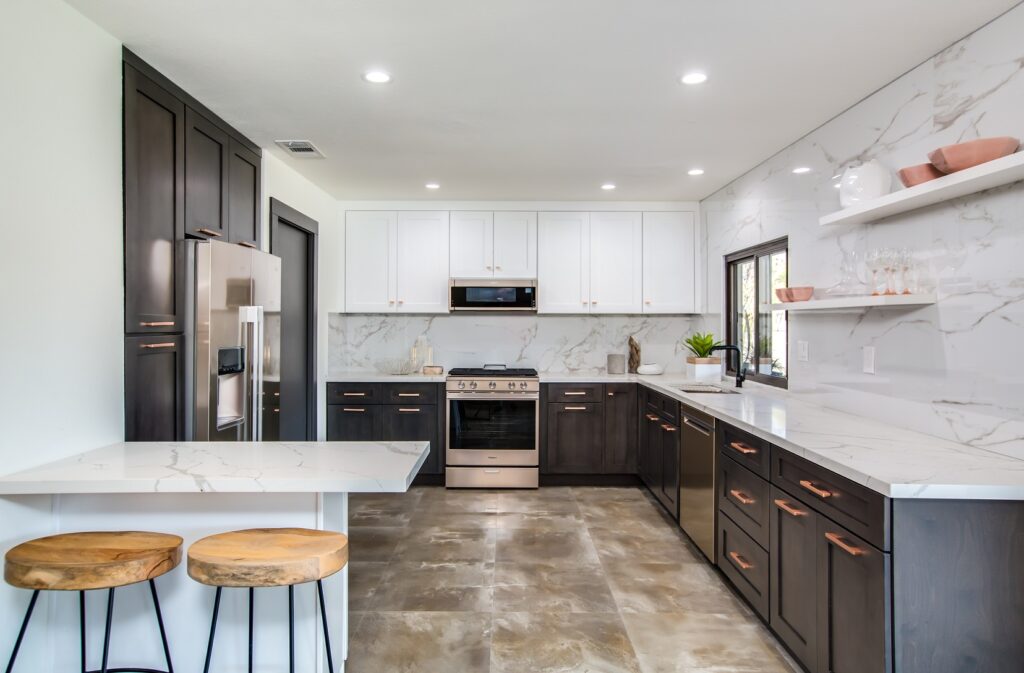
Working with Different Cabinet Heights
Not all kitchens have uniform cabinet heights. Maybe you have tall cabinetry over your refrigerator but shorter cabinets elsewhere. This variation actually offers design opportunities.
For mixed heights, try creating zones. Use the lower cabinet tops for functional storage while treating taller sections as pure decoration. This approach adds visual interest while maintaining practicality.
You might also consider graduated displays. Place the tallest items over the highest cabinets, stepping down to smaller pieces over lower sections. This creates flow and cohesion despite the height differences.
Budget-Friendly DIY Solutions
Let’s get practical about filling in space without breaking the bank. These DIY solutions deliver big impact for minimal investment.
First up: faux beams. These lightweight polyurethane beams install easily and create the illusion of architectural detail. Paint them to match your cabinets or go for a contrasting wood tone.
Fabric valances offer another affordable option. Attach a simple tension rod between cabinets and the ceiling, then hang fabric that complements your kitchen. This softens hard edges and hides the gap completely.
According to Angi’s home improvement specialists, adding a simple wood shelf across the gap costs under $100 in materials but dramatically improves the space’s functionality.
Maintaining Your Above-Cabinet Space
Once you’ve styled the area above your kitchen cabinets, keeping it clean matters. Dust accumulates quickly up there, especially near cooking areas where grease becomes airborne.
For decorated spaces, schedule quarterly cleaning sessions. Use a telescoping duster for regular maintenance and a step ladder for deeper cleaning twice yearly. If you’ve stored items in baskets or boxes, wipe them down during these sessions.
Here’s a pro tip: lay sheets of wax paper on top of cabinets before arranging items. When cleaning time comes, simply roll up the dusty paper and replace it. This trick saves scrubbing time and protects cabinet surfaces.
Considering Cabinet Ceiling Gaps in Kitchen Planning
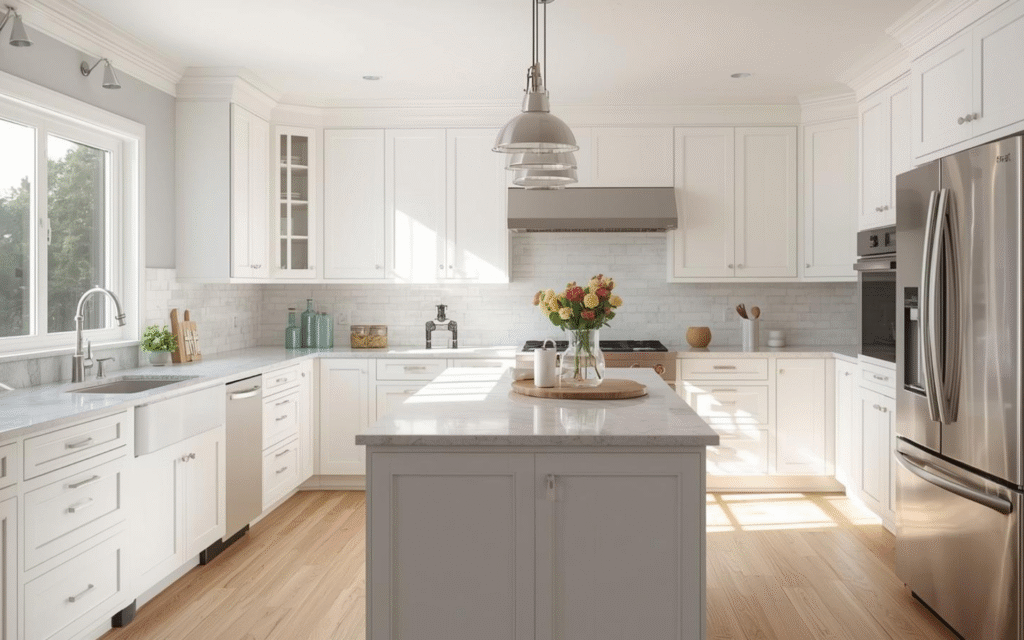
If you’re designing a new kitchen, addressing cabinet ceiling gaps from the start saves headaches later. Work with your designer to specify cabinets that minimize or eliminate these spaces.
For standard 8-foot ceilings, 42-inch upper cabinets leave a minimal gap. With 9-foot ceilings, stacked cabinet configurations work well. You install standard height cabinets with smaller cabinets above, creating tons of storage.
Don’t forget about proportion. While floor-to-ceiling cabinets maximize space, they can overwhelm small kitchens. Sometimes, a modest gap with thoughtful styling looks better than cramming in maximum cabinetry.
Creative Combinations Worth Trying
Why choose just one solution? Combining approaches often yields the best results. For instance, use base cabinets and wall cabinets of different heights intentionally, creating display ledges at varying levels.
Or mix functional and decorative elements. Store items in attractive containers on one side while displaying artwork on the other. This balanced approach satisfies both practical and aesthetic needs.
You could also vary your treatment by wall. Maybe the top of kitchen cabinets facing your dining area gets decorative treatment, while the wall seen less often holds practical storage.
Finding Your Perfect Solution
So which approach works best for your kitchen? Start by honestly assessing your needs. Do you lack storage? Go functional. Want more style? Choose decorative displays. Hate cleaning? Consider closing the gap permanently.
CabinetLand specializes in custom solutions that make every inch of your kitchen beautiful and functional. Whether you’re interested in extending existing cabinets, adding crown molding, or exploring complete kitchen renovations, our team has the expertise to guide you.
We work with trusted remodeling company partners to ensure seamless installation and stunning results. From initial consultation through final installation, we’re committed to transforming your kitchen into the space you’ve always wanted. Contact us today for your free consultation.